Proximity Camera Assembly Manual
© 2009 Alex Asen, Brandeis University.
www.bndhep.net

Assembled Proximity Camera with Labels
- Print out an assembly drawing like EE_PROXY_CAMERA_ASSY.pdf. Numbers in parentheses below are references to this drawing.
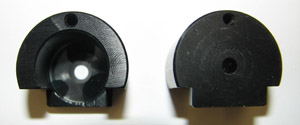
- Epoxy the lens into the lens holder using three tiny drops of 3M DP460 Epoxy.
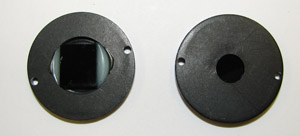
- Epoxy the IR Filter into Washer #3.
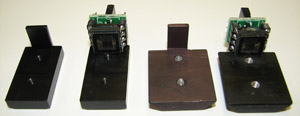
- Epoxy a TC255P CCD onto the CCD bracket. No special tool is needed, the epoxy will hold the CCD in place while it dries. We have two kinds of CCD brackets. The newer design is simpler to machine. Both are assembled in the same way.
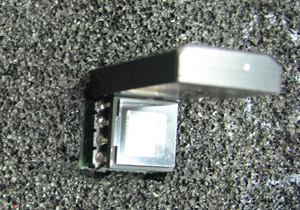
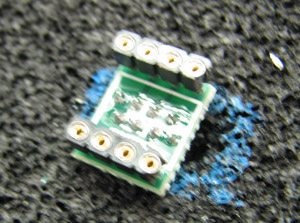
- Once the Epoxy is dry, solder a A2016P to the CCD. You will find a piece of foam in the A2016 draw that makes soldering much easier. The TC255P have a protective plastic sheet over them. You may want to cut the tab off this sheet so it does not interfere with your soldering.

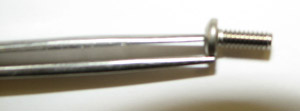
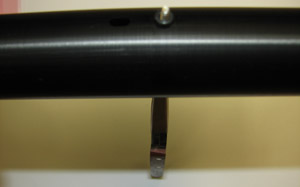
- The trickiest part of assembly is getting the fastening screw (12) in place. First, drop the lock washer (13) into place from above. Next, find a good pair of tweezers, like the ones pictured and grip the screw like the images show. Use the tweezers to insert the screw. Now, with the tweezers still gripping the screw, flip everything so that the tweezers are resting on the table. You can push on the screw to slide the rubber o-ring (17) on.
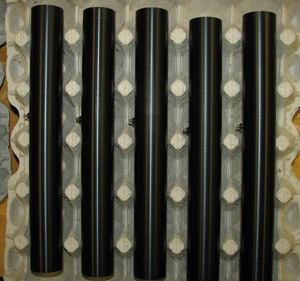
- The Cameras now have a screw sticking out of them. The screw can easily scratch the anodizing of other cameras, which may affect calibration, so it is important to keep the cameras separated. The egg crate pictured above works very well. It holds the camera steady for future assembly steps and is also useful for shipping.
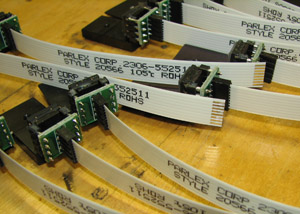
- Attach a flex cable to the A2016. The flex connectors on the A2016 and the A2047 are bidirectional, so it does not matter which way you connect the cable as long as Pin-1 lines up. Remove the protective plastic film from the CCD. If the tab on the film has been cut, it may be difficult to notice that the film is still attached.

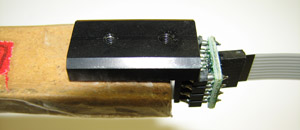
- Use the Awesome Wonderful Exact Securing Of Mounting bracket Exactly (A.W.E.S.O.M.E.) TOOL to slide the CCD bracket into place. The A.W.E.S.O.M.E. tool has two small pegs that can grip the CCD bracket. Once the CCD is in the tube, use the pan screw (11) to grip the bracket, but do not tighten the screw all the way. Tighten the machine screw (14) first and then go back and tighten the pan screw.
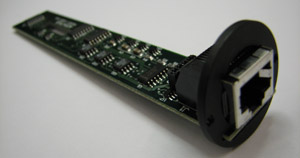
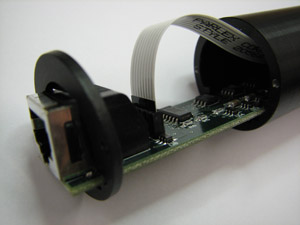
- The a A2047 board gets sandwiched between washer #5 and #4. Slide the board into the tube, connect the flex cable and screw the washers down with M2 screws. Be careful not to force the M2 screws at off angles because they can snap easily.

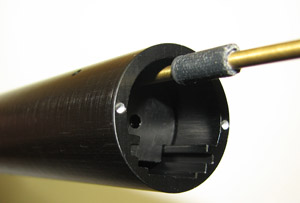
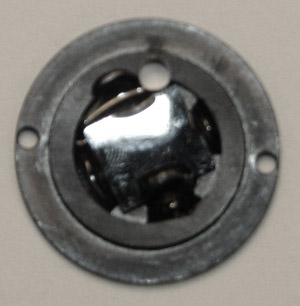
- The Lens Tool allows you to position the lens to an exact depth. Use a piece of tape to make a ridge at the depth the model camera requires. Then simply push the lens in until the tape contact the edge of the tube. There is a special IR Washer with a hole drilled through it. The Lens tool fits through this hole, so use this washer to determine the correct depth of the lens holder. Use a set screw to lock the lens holder into place. There are two holes for epoxy next to the set screw hole. These holes are filled at CERN after they test the camera.
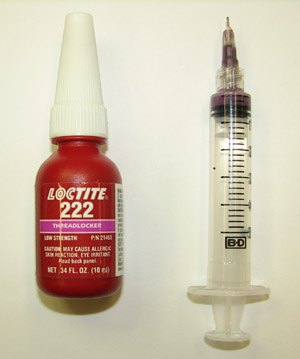

- Next screw down Washer #3 with the IR filter. The IR filter has a wedge angle. This is important because the wiggle room in the screw holes is enough to significantly change the calibration of a camera. We use Loctite on these screws to insure the IR Filter will not wiggle. If assembling multiple cameras it is well worth your time to use a syringe to insert the Loctite into the screw holes.
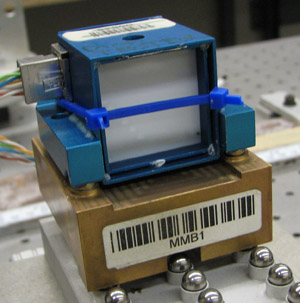
- Use the Dirt Checker mask to test the CCDs for dirt. Dirt is easier to see with this all white mask in the background than a mask with a checkerboard RASNIK. Remove any dirt with a cotton swab and place a plug in the CCD cleaning hole..
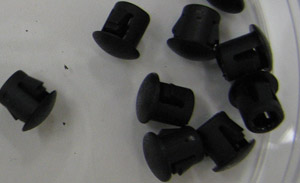
- Plug the fastening hole before shipping so the CCDs arrive clean.